Configure MDM in Azure Entra ID tenant
Go to %whitelabelText2% Admin > Global Settings > Microsoft
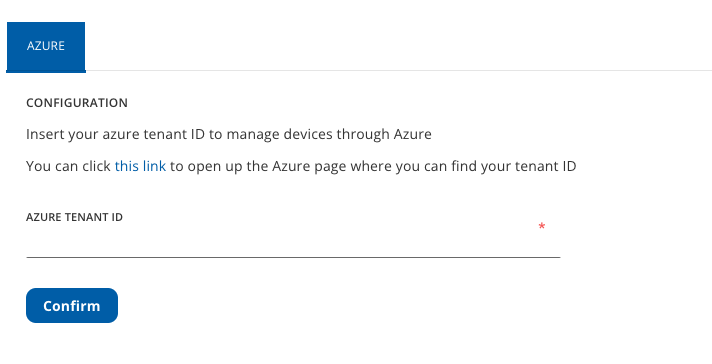
Get your Azure's tenant id from Azure Entra ID admin center
Insert it into the Azure Tenant Id field
Login as an Azure Entra ID admin and authorize permissions to create the "%mdmName%" enterprise app.
Now you can:
- run a manual sync verified domains to correctly configure the Microsoft Autodiscovery use "Sync Domains" button.
- configure your tenant for Windows Autopilot
- import Azure Entra ID's Devices as placeholders
Configure your tenant for Windows Autopilot
NOTE: This procedure requires Azure Entra ID Premium P1 or P2 licenses.
- Go to the Azure Entra ID > Mobility (MDM and MAM)
- Click on “%mdmName%” application.
- Copy the “MDM Terms Of Use” from Chimpa Admin > Global Settings > Microsoft and paste it into the Azure’s %mdmName% “MDM terms of use URL” field.
- Copy the “MDM Discovery” from Chimpa Admin > Global Settings > Microsoft and paste it into the Azure’s %mdmName% “MDM terms of use URL” field.
- Choose the “MDM user scope” of Azure, “ALL” or “Some” selecting the group to be managed through the MDM.
- assign Azure Entra ID Premium 1 or 2 licensing to users/groups that must use Windows Autopilot, Azure Entra ID login enrollment or Office enrollment
Import Azure Entra ID's Devices as placeholders
- To manual sync Azure’s Devices (including Autopilot ones) use "Sync Devices" button.
- Select one or more devices from the table
- Click on "Import Placeholders" action button to import selected Windows devices into %mdmName%'s placeholders
Enabling Conditional Access on Azure Entra ID
- Go to the Azure Entra ID > Security > Conditional Access
- Click on +New Policy to create the Conditional Access policy.
- Provide a policy name, select Users and Groups under Assignments.
- Choose the users and groups that this Conditional Access policy applies to.
- Click on Done.
- Under Assignments, select Cloud apps or actions.
- Select Office 365 (includes Microsoft apps), and add additional apps and services you want to protect by the policy.
- Click on Done.
- Under Assignments, select Conditions.
- Click on Device Platforms and identify the platforms you want this Conditional Access policy to apply to.
- Click on Done.
NOTE: Microsoft Azure permits third-party MDM solutions to grant access only to enrolled Windows 10 or 11 devices, while blocking all other device platforms.
- Under Access controls, select Grant.
- Configure the action to be taken based on the set conditions. Select Grant access and check Require device to be marked as compliant.
- Under Enable policy, select On and click on Create.
After enabling the Conditional Access policy on Azure Entra ID, the selected users and groups cannot access to Office 365 and other apps selected in the policy.
Disabling Conditional Access on Azure Entra ID
- Go to the Azure Entra ID > Security > Conditional Access
- Now, find and select the policy that you want to remove from Azure.
- Under Enable policy, select Off and click on Save.
This will ensure the policy gets completely removed and all the previously selected users and groups will be able to access Office 365, and other apps included while creating the Conditional Access policy.